Showing posts with label sewing. Show all posts

Thursday, July 22, 2010

A Skirt for Mama


Posted by Picasa

I made this skirt for myself. I had hopes of making a dress, similar to the last dress I made Penelope, and I envisioned it to come out kinda of like this dress, but with a wide elastic at top, that are all the rage right now. I bit off more than I could chew and ended up just doing a basic elastic casing waste. And like my very first dress I made for Penelope, this too, is going to be filed under "learning experiences." It wasn't exactly a disaster, and I even wore it out in public, once. I wore it with a white tank top and thick yellow belt. It would have been so cute, but it just didn't fit right or the fabric didn't lay right, I don't know. Either way, I am not wearing it again. Its already been cut up, to become Recycle, Reuse, Refashion 3, so don't even try and talk me out of it.

Wednesday, June 2, 2010

Recyle, Reuse...Refashion II


This time I cut up an old Lilly Pulitzer skirt that doesn't fit me anymore. See a pattern here? I have held on to, way too many clothes, hoping that I would magically become skinny one day and fit into them again. But post childbirth, I am so impressed with my body for creating, growing, pushing out a baby and then making milk for it that I am finally at peace with how my body looks and can LET GO of these old clothes!

For this refashion, I had to rip out the zipper in the back and sew it back together, and then finished it with pinking shears. Then I cut out armholes, in the shape of an upside down J. The skirt was already fully lined, so I turned it inside out and placed the edges of the armholes right sides facing and sewed together.

Then I turned the top edge down of the front and back necklines and sewed a casing for the ribbon. And since it was a skirt in its past life the hem was already complete!

Posted by Picasa

Ta Da! The one on the left, is another pillow case dress I made for Miss P. Here is a great tutorial for pillow case dresses.

Friday, May 21, 2010

Recycle, Reuse...Refashion!


This is cute top that I bought while I was living in Spain, my sophomore year of college. Its been a long time since it fit, but I can't bare to give it away. With my new post-partum mommy boobs, there is NO way it's ever going to fit again, so I decided to cut it up and give it a new life through Penelope. Peter said to me the other day, "man, you really like cutting stuff up now, huh?" Yup, I do. I am not sure what has come over me, but every spare second I have I am in the dinning room sewing or getting ready to sew!


First I cut off the sleeves. Then I turned it inside out and took in the sides a bit to make it more of an A-line dress shape.


Then I sewed on hot pink bias tape to finish the armholes and make the straps. Here is a good tutorial on how to use bias tape. And Ta Da! Super cute toddler sized dress. I was so proud of myself for this one, I came up with the idea all on my own. In fact, I thought I was kind of a genius for turning a woman's shirt into a toddler dress, but when I searched online I found numerous other women who have been doing this for a long time! Oh well, great minds think alike.

Posted by Picasa

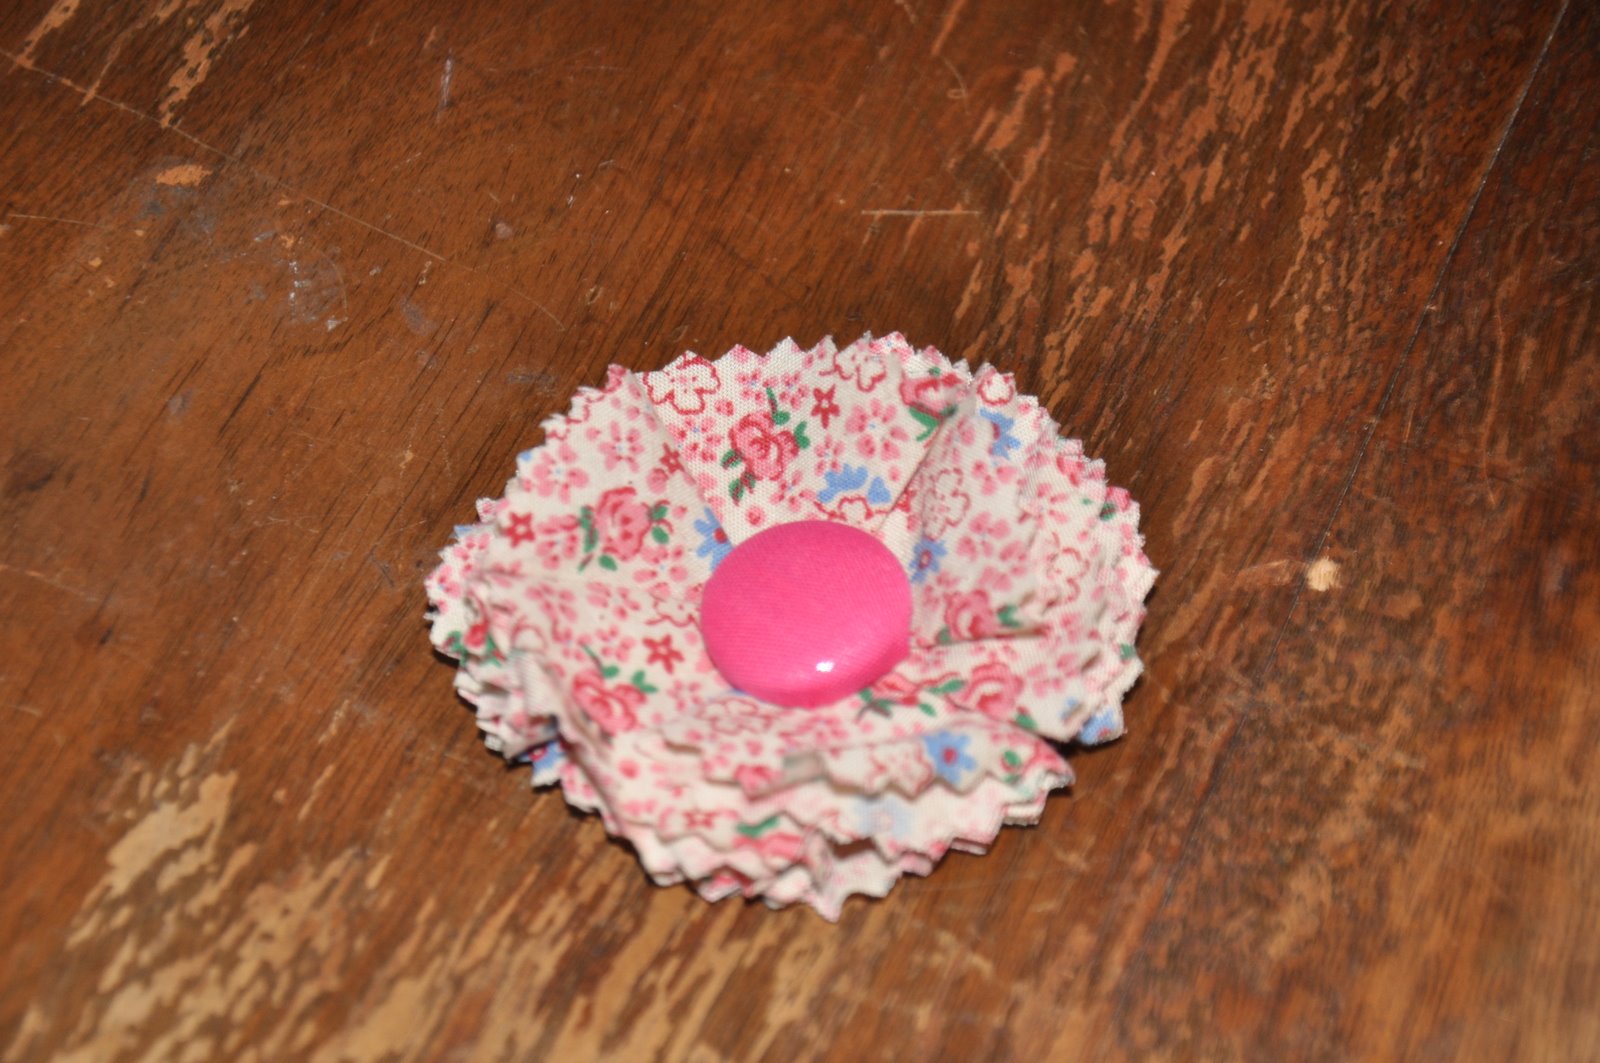
And then I made her a little bow to match! I used a fabric button cover kit from JoAnn Fabrics. Here is the tutorial for that.

Monday, May 10, 2010

Homemade Baby Legs Part 2


Posted by Picasa

Here is Miss P modeling them. It's getting too hot around here to wear them for warmth, but the plan is pop them on her when she starts to crawl and protect her little knees from rug burn or bruises as she learns.

Homemade Baby Legs Part 1


On my week off from school, I got a bit crafty and made these super cute baby legs. I got the idea, where I get all my recent crafty ideas from, Prudent Baby
I did mine a tad differently, one, because I don't have a serger and two, because I couldn't figure out to sew the knit fabric without my stitches coming out like I was sewing drunk.
I ended up hand sewing the other three and they came out much cleaner. It took longer, but hand sewing ended up being an easy and relaxing thing to do while I pump.
I got knee high women's socks from Target for a whopping $2 each! A new pair of baby legs would cost you about $12, not including tax or shipping, so it turned out to be a pretty awesome steal. You could do a toddler version of this by buying thigh high socks.

Here's the lowdown:

First cut off the foot of the socks, right where the heal ends.


Then turn the socks inside out and take in the bottom sides a bit, where your baby's ankles will be. You can skip this part if you want, but when I did on the first one they were too loose, and Penelope is not lacking in meat-on-her-ankles department.


Then turn the edges over and hem. You can serge the raw edges or use a zig zag, or so the website says. I have never done either. I had read that using pinking sheers will have the same effect, so that it what I am going to try next after my trip to Joanne Fabrics on Tuesday.

Posted by Picasa

Turn back inside out and...

Ta Da! Cutest baby legs ever for $2!

Wednesday, May 5, 2010

Let's just call this a learning experience


Posted by Picasa


So, I bought a pattern for the first time in my life. The bottom picture is what the dress was supposed to look like.

As you can see, I stopped following the pattern after I cut out the dress pieces. I couldn't understand it. Not sure if its because I am just so exhausted that my brain functions as if I am drunk or if I am a visual learner and need someone to show me how to do it. I am just glad the damn thing is done. I think I will stick to pillow case dresses after this. But then again I just found this site: www.littlebeanshop.com and was lusting over all the little dresses and have already decided to try a halter dress next for Miss P.

During this project, I did manage to learn how to do a few new sewing skills: a French seam, and then was told that since I fully lined it and the fabric was thick, I didn't need to do it (thanks, Julie!), so the second side didn't get one. A basting stitch, which really pissed me off. Apparently, my machine only goes to a 4 as its longest stitch, so it made the ruffle super tight. I also think that because it was fully lined and a thick fabric it made it more difficult as well. I ended up doing a hand basting stitch for the front and it worked much better. For the third thing I learned, I am not even sure what its called. I think its called bias tape? Anyone know?

I really enjoyed making the little bow for the front, and have visions of many different fabrics I can make them in, I think I will make a few for myself next time too! I got the free tutorial here, from my favorite new website: http://www.prudentbaby.com/2010/02/diy-fabric-flower-hair-clip.html

Oh, and the purple fabric is organic! I found it at Joanne Fabrics a couple of months ago. They have all of four bolts, white, black, brown and this purple.

As long as you don't look at my stitches real close, its not half bad. Especially, considering the only sewing skills I am going off are from a 7th grade Home Ec class.