I made this skirt for myself. I had hopes of making a dress, similar to the last dress I made Penelope, and I envisioned it to come out kinda of like this dress, but with a wide elastic at top, that are all the rage right now. I bit off more than I could chew and ended up just doing a basic elastic casing waste. And like my very first dress I made for Penelope, this too, is going to be filed under "learning experiences." It wasn't exactly a disaster, and I even wore it out in public, once. I wore it with a white tank top and thick yellow belt. It would have been so cute, but it just didn't fit right or the fabric didn't lay right, I don't know. Either way, I am not wearing it again. Its already been cut up, to become Recycle, Reuse, Refashion 3, so don't even try and talk me out of it.
Showing posts with label crafting. Show all posts
Thursday, July 22, 2010
A Skirt for Mama
I made this skirt for myself. I had hopes of making a dress, similar to the last dress I made Penelope, and I envisioned it to come out kinda of like this dress, but with a wide elastic at top, that are all the rage right now. I bit off more than I could chew and ended up just doing a basic elastic casing waste. And like my very first dress I made for Penelope, this too, is going to be filed under "learning experiences." It wasn't exactly a disaster, and I even wore it out in public, once. I wore it with a white tank top and thick yellow belt. It would have been so cute, but it just didn't fit right or the fabric didn't lay right, I don't know. Either way, I am not wearing it again. Its already been cut up, to become Recycle, Reuse, Refashion 3, so don't even try and talk me out of it.
Tuesday, July 6, 2010
Baby Finger Painting Art Project: Part 2
When Penelope was done finger painting, I cut out the prettiest section of her art and framed it up for Peter's gift.
Pretty cool, huh?
Here is Miss P giving her Papa his present, which he loved! Baby-finger-painting-art-project success!
Monday, July 5, 2010
Baby Finger Painting Art Project: Part 1
For Peter's first Father's Day, I wanted to make him something special and handmade. I set up the kitchen floor for Penelope to go crazy with the finger paints. It was her very first art session! I taped a plastic tarp down, and then taped several pieces white art paper to the tarp. Then I put four plastic paint containers out, each with a different color. I added a paint brush to each container.
We used eco-friendly, non-toxic paints and Penelope went to town!
She managed to get as much on her body as she did on the paper.
Cleaning up! I will show you guys the finished product on Tuesday.
Thursday, June 24, 2010
DIY: Toy Storage Bag
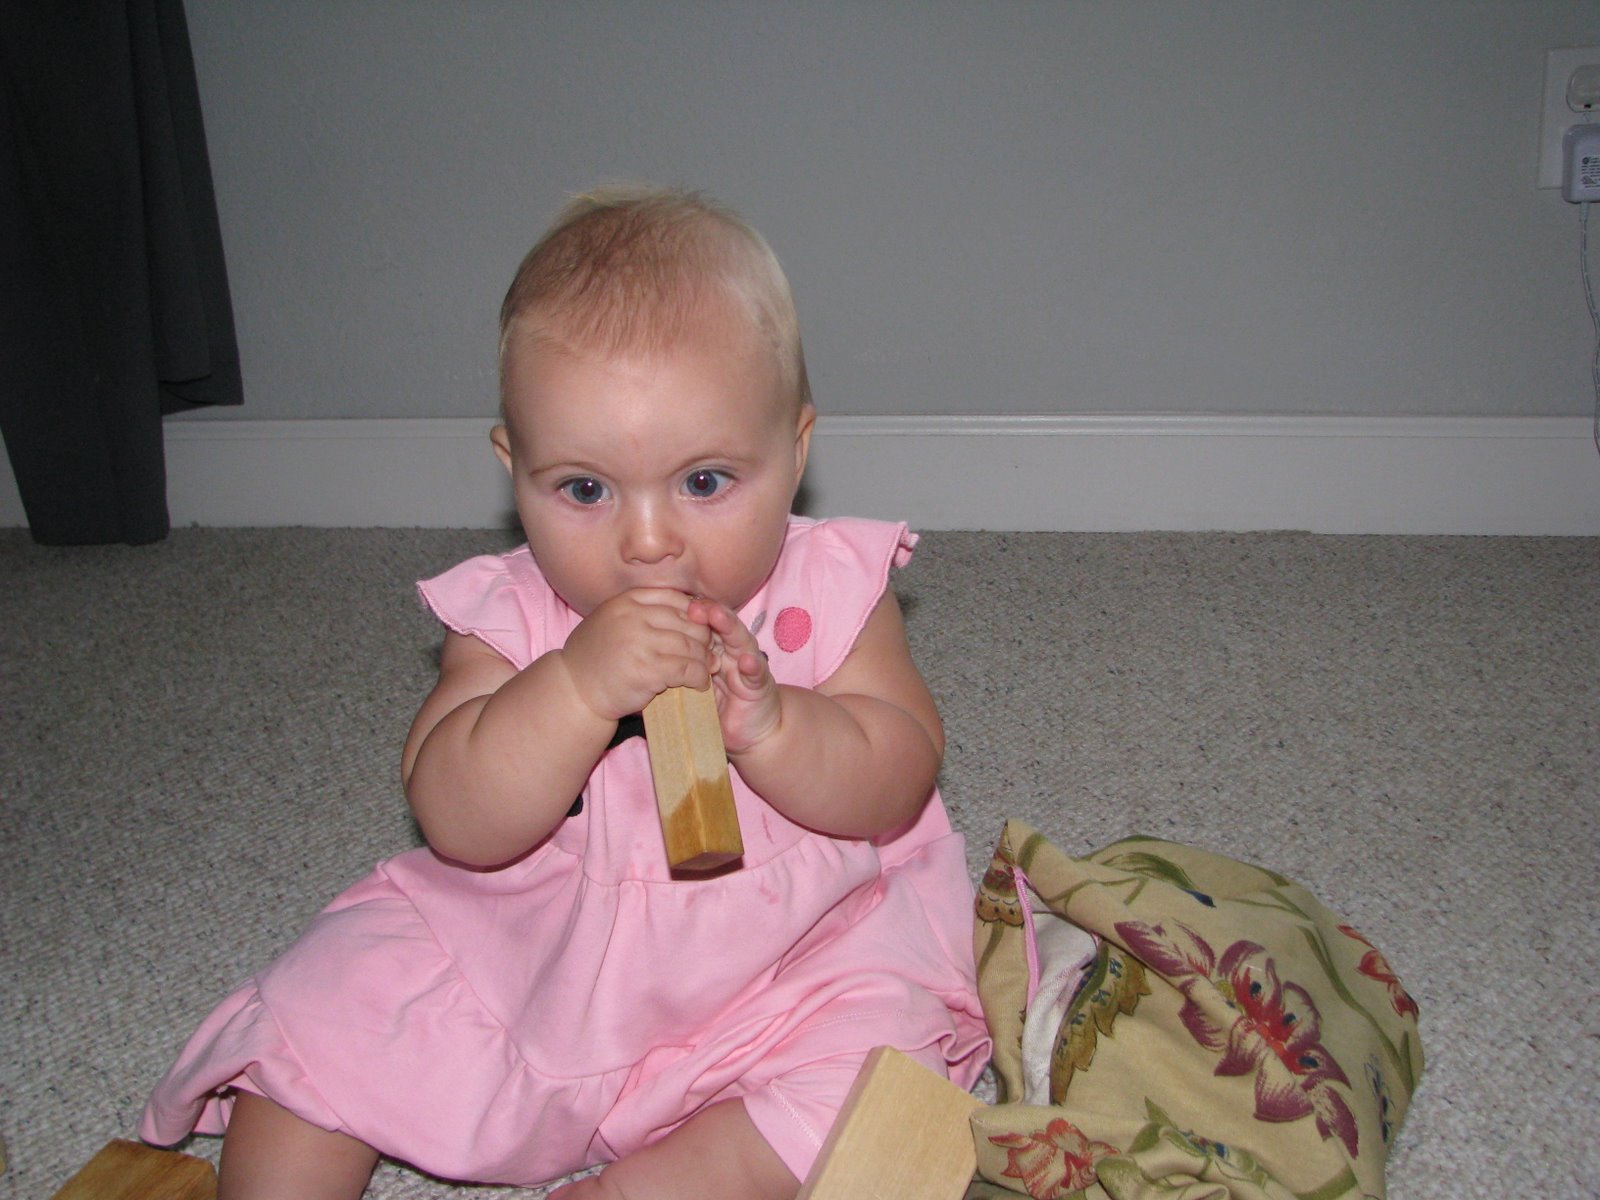
I made a bag with a zipper to house some of Penelope's wooden blocks the other week. I used scrap fabric I had left over from when I reupholstered a chair when I was pregnant. I also recycled and used the pink zipper I tore out of the Lilly Pultizer skirt I made into a Pillow Case dress. So it doesn't really match but I figured reusing the zipper was more important.
I didn't take a super great picture of the bag, because Penelope was being so cute with her blocks. The girl makes some funny faces.
Here is where I learned to make this type of bag. I didn't double line it like the tutorial, because this was my first time using a zipper and honestly I just couldn't figure it out, maybe next time.
Oh and if anyone is wondering her dress is organic and from Sage Creek Organics. Pretty cute, right?
Monday, June 14, 2010
Diaper Changing Pad Cover
I think this is my best project so far, as far as satisfaction goes. Dresses are awesome, but to make something useful was pretty great. When I was done and put it on the diaper changing pad, I was totally surprised. I couldn't believe it actually worked and turned out! It fit perfectly. This pad was given to us, as a hand me down, and before Penelope it had already been through 4 babies, so the cover was in a bad, bad place. Now, I get to look at these pretty flowers every time I change Miss P's diapers. And since our diaper changing station is in our bedroom, it matches much better.
This is what the underneath looks like. It was the first time I have ever done a project with elastic. Elastic used to scare the crap out of me, but it is very simple! Here is the tutorial.
Monday, June 7, 2010
Ten Minute Onesie Dress
This took a little bit longer than 10 minutes, but it was still super quick and easy. This could also be categorized under a refashion, because the fabric is from an old GAP halter dress that doesn't fit my mommy boobs anymore. I cut a piece from the bottom of the dress and didn't even have to hem it.
I got inspired to sew this dress from this tutorial. Instead of using a onesie I used a tank top that I bought at Old Navy for $5. I also made her dress have an empire waist for added cuteness. Here is the tutorial I used to make the headbands. For mine, I used the straps of the halter dress instead of elastic.
I am LOVING headbands right now because I never have time to blow dry my hair anymore. AND it covers up all the stupid, wispy hairs that are growing back in from when I lost fistfuls of hair everyday during my early post partum days. Those same stupid, wispy hairs are also growing back in white. Can thank my mother for those. She was completely white by her mid thirties. Awesome. Can't wait.
Wednesday, June 2, 2010
Recyle, Reuse...Refashion II
This time I cut up an old Lilly Pulitzer skirt that doesn't fit me anymore. See a pattern here? I have held on to, way too many clothes, hoping that I would magically become skinny one day and fit into them again. But post childbirth, I am so impressed with my body for creating, growing, pushing out a baby and then making milk for it that I am finally at peace with how my body looks and can LET GO of these old clothes!
For this refashion, I had to rip out the zipper in the back and sew it back together, and then finished it with pinking shears. Then I cut out armholes, in the shape of an upside down J. The skirt was already fully lined, so I turned it inside out and placed the edges of the armholes right sides facing and sewed together.
Then I turned the top edge down of the front and back necklines and sewed a casing for the ribbon. And since it was a skirt in its past life the hem was already complete!
Ta Da! The one on the left, is another pillow case dress I made for Miss P. Here is a great tutorial for pillow case dresses.
Monday, May 31, 2010
Free Printable Invitation Templates
I am already planning Penelope's 1st birthday party and I came across this awesome site that offers free invitation templates to download. I was super excited to find this site and find this invitation. It is exactly what I was looking for and the designer even posted that anyone could email her if they needed a different color. I need one in hot pink, purple, orange and green. I am already so excited for her party!! Last month, Micheal's was having a half off sale on their gross grain ribbon and I got a crap ton in those four colors. I am bound and determined to have an affordable, but beautiful 1st Birthday for Penelope!
Friday, May 21, 2010
Recycle, Reuse...Refashion!
This is cute top that I bought while I was living in Spain, my sophomore year of college. Its been a long time since it fit, but I can't bare to give it away. With my new post-partum mommy boobs, there is NO way it's ever going to fit again, so I decided to cut it up and give it a new life through Penelope. Peter said to me the other day, "man, you really like cutting stuff up now, huh?" Yup, I do. I am not sure what has come over me, but every spare second I have I am in the dinning room sewing or getting ready to sew!
First I cut off the sleeves. Then I turned it inside out and took in the sides a bit to make it more of an A-line dress shape.
Then I sewed on hot pink bias tape to finish the armholes and make the straps. Here is a good tutorial on how to use bias tape. And Ta Da! Super cute toddler sized dress. I was so proud of myself for this one, I came up with the idea all on my own. In fact, I thought I was kind of a genius for turning a woman's shirt into a toddler dress, but when I searched online I found numerous other women who have been doing this for a long time! Oh well, great minds think alike.
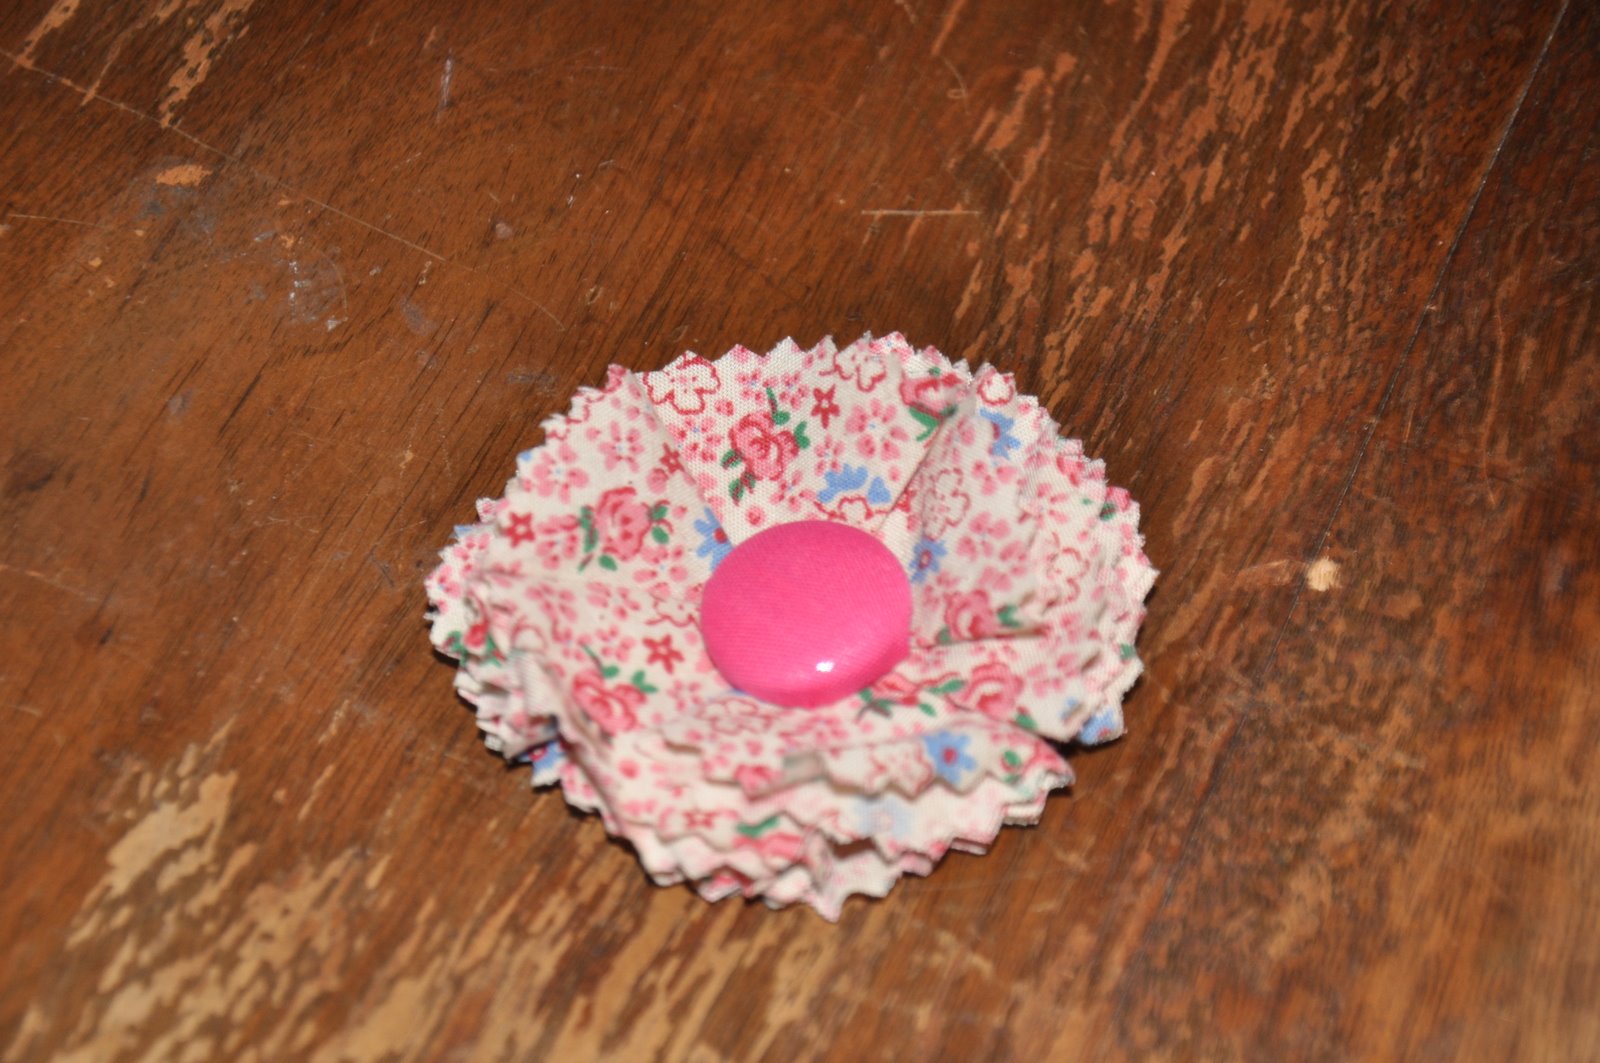
And then I made her a little bow to match! I used a fabric button cover kit from JoAnn Fabrics. Here is the tutorial for that.
Thursday, May 20, 2010
Handmade Crinkly Baby Toy
I recently made Penelope a cloth, crinkly, clutching toy (say that 3 times fast). I also made one for my friend Lia and her new baby Lucia. Penelope was given one, just like this, from a friend of mine and it was the first toy she showed any interest in. Because it was cloth, she was able to clutch much easier. And because it crinkled, it was endless entertainment. These days she is more into anything that is NOT a toy, but she still likes it.
Ok, so first cut two squares of fabric, any size will do. Then cut out pieces of ribbon. You can do a lot and space them close or farther apart, your call. Then pin them facing inwards like the picture. Then put the right sides of the fabric together and make a little sandwich with the ribbon inside and sew all the way around, but leave a space to turn your toy back inside out. I left a too small of a space and it took me FOREVER to turn in back inside out.
Insert your crinkly object into the hole opening. I used the stuff you wrap gift baskets in, and I can't even think of the name right now. Penelope got up at 5am this morning ready to party, so who can blame me. But you could use anything else that crinkles.
Once you turn it back inside out, do a top stitch all the way around. Where you left the hole open, turn the edges and fold them inside. Once you do the the top stitch, you wont be able to tell where your hole was. I did mine in purple thread, even though it didn't match because I was too lazy to change my thread. You could do a much cuter color combo.
Done! Time to play! See what I mean? Penelope is much more interested in Sky than her new handmade toy.
Subscribe to:
Posts (Atom)